AARON BROWN SOUND
GAME AUDIO SOUND DESIGNER – COMPOSER – AUDIO GEEK
MY STORY
Since 2007 I’ve created audio experiences with industry juggernauts including LucasArts, Epic, Playful, Electronic Arts, Activision, Naughty Dog, Starbreeze, Raven and notable mobile gaming developers. During my career I have been fortunate enough to have contributed my skills to a few video games that have won audio awards including Call of Duty Vanguard, Uncharted 3 and The Force Unleashed 2.
I’ve also crafted sound and music for experiences in VR with titles such as Super Lucky’s Tale for Oculus, Robo Recall for Oculus, Path Of the Warrior and multiple projects for Starbreeze using their next-gen StarVR headset. In 2018 I shared my VR knowledge by giving my 5D Audio presentation at GDC.
Along with my career I also feel a strong need to give back and build a better community. I currently live in sunny Austin TX where I run the Austin game audio meetups and I was most recently the Audio Lead at Arkane Austin. I’m currently exploring opportunities for what’s next in my career.
DEMO REELS
Game Audio Composition and Sound Design Reels.
About ME
When I’m not working I’m probably brewing coffee, travelling with my beautiful wife to new outdoor spaces, studying new orchestral scores, recording everything in sight, hitting the gym, hiking or playing fetch with my amazing dog.
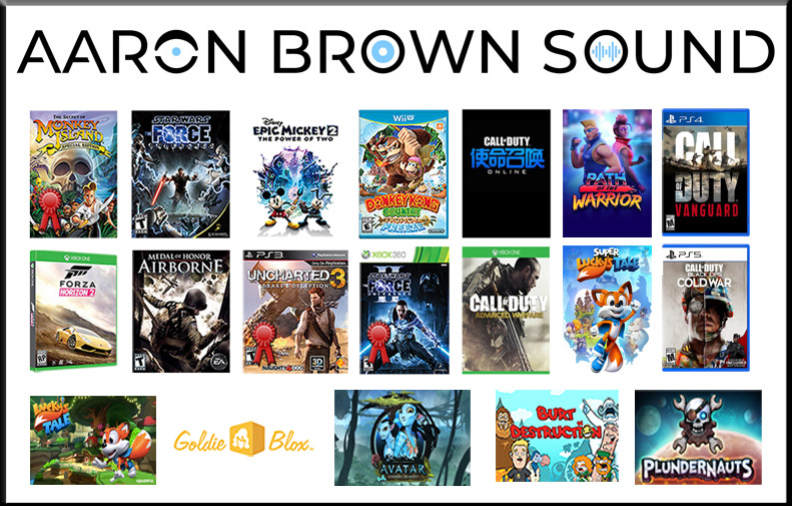
CLIENTS
Throughout my career I’ve provided audio direction for companies large and small. Most of my work is in game audio with sound design, composition integration, mixing, location recording, and leading teams.
Past clients include Electronic Arts, Lucasarts, Naughty Dog, Gl33k, Twisted Pixel, Starbreeze, Goldieblox, Berklee College, Raven, Playful, Arkane Austin and more.
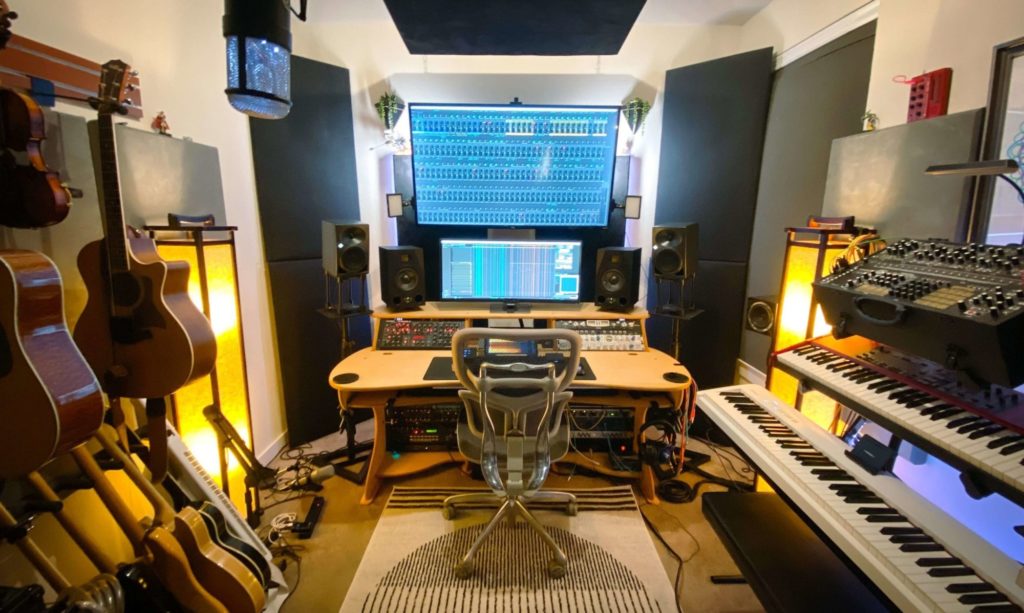
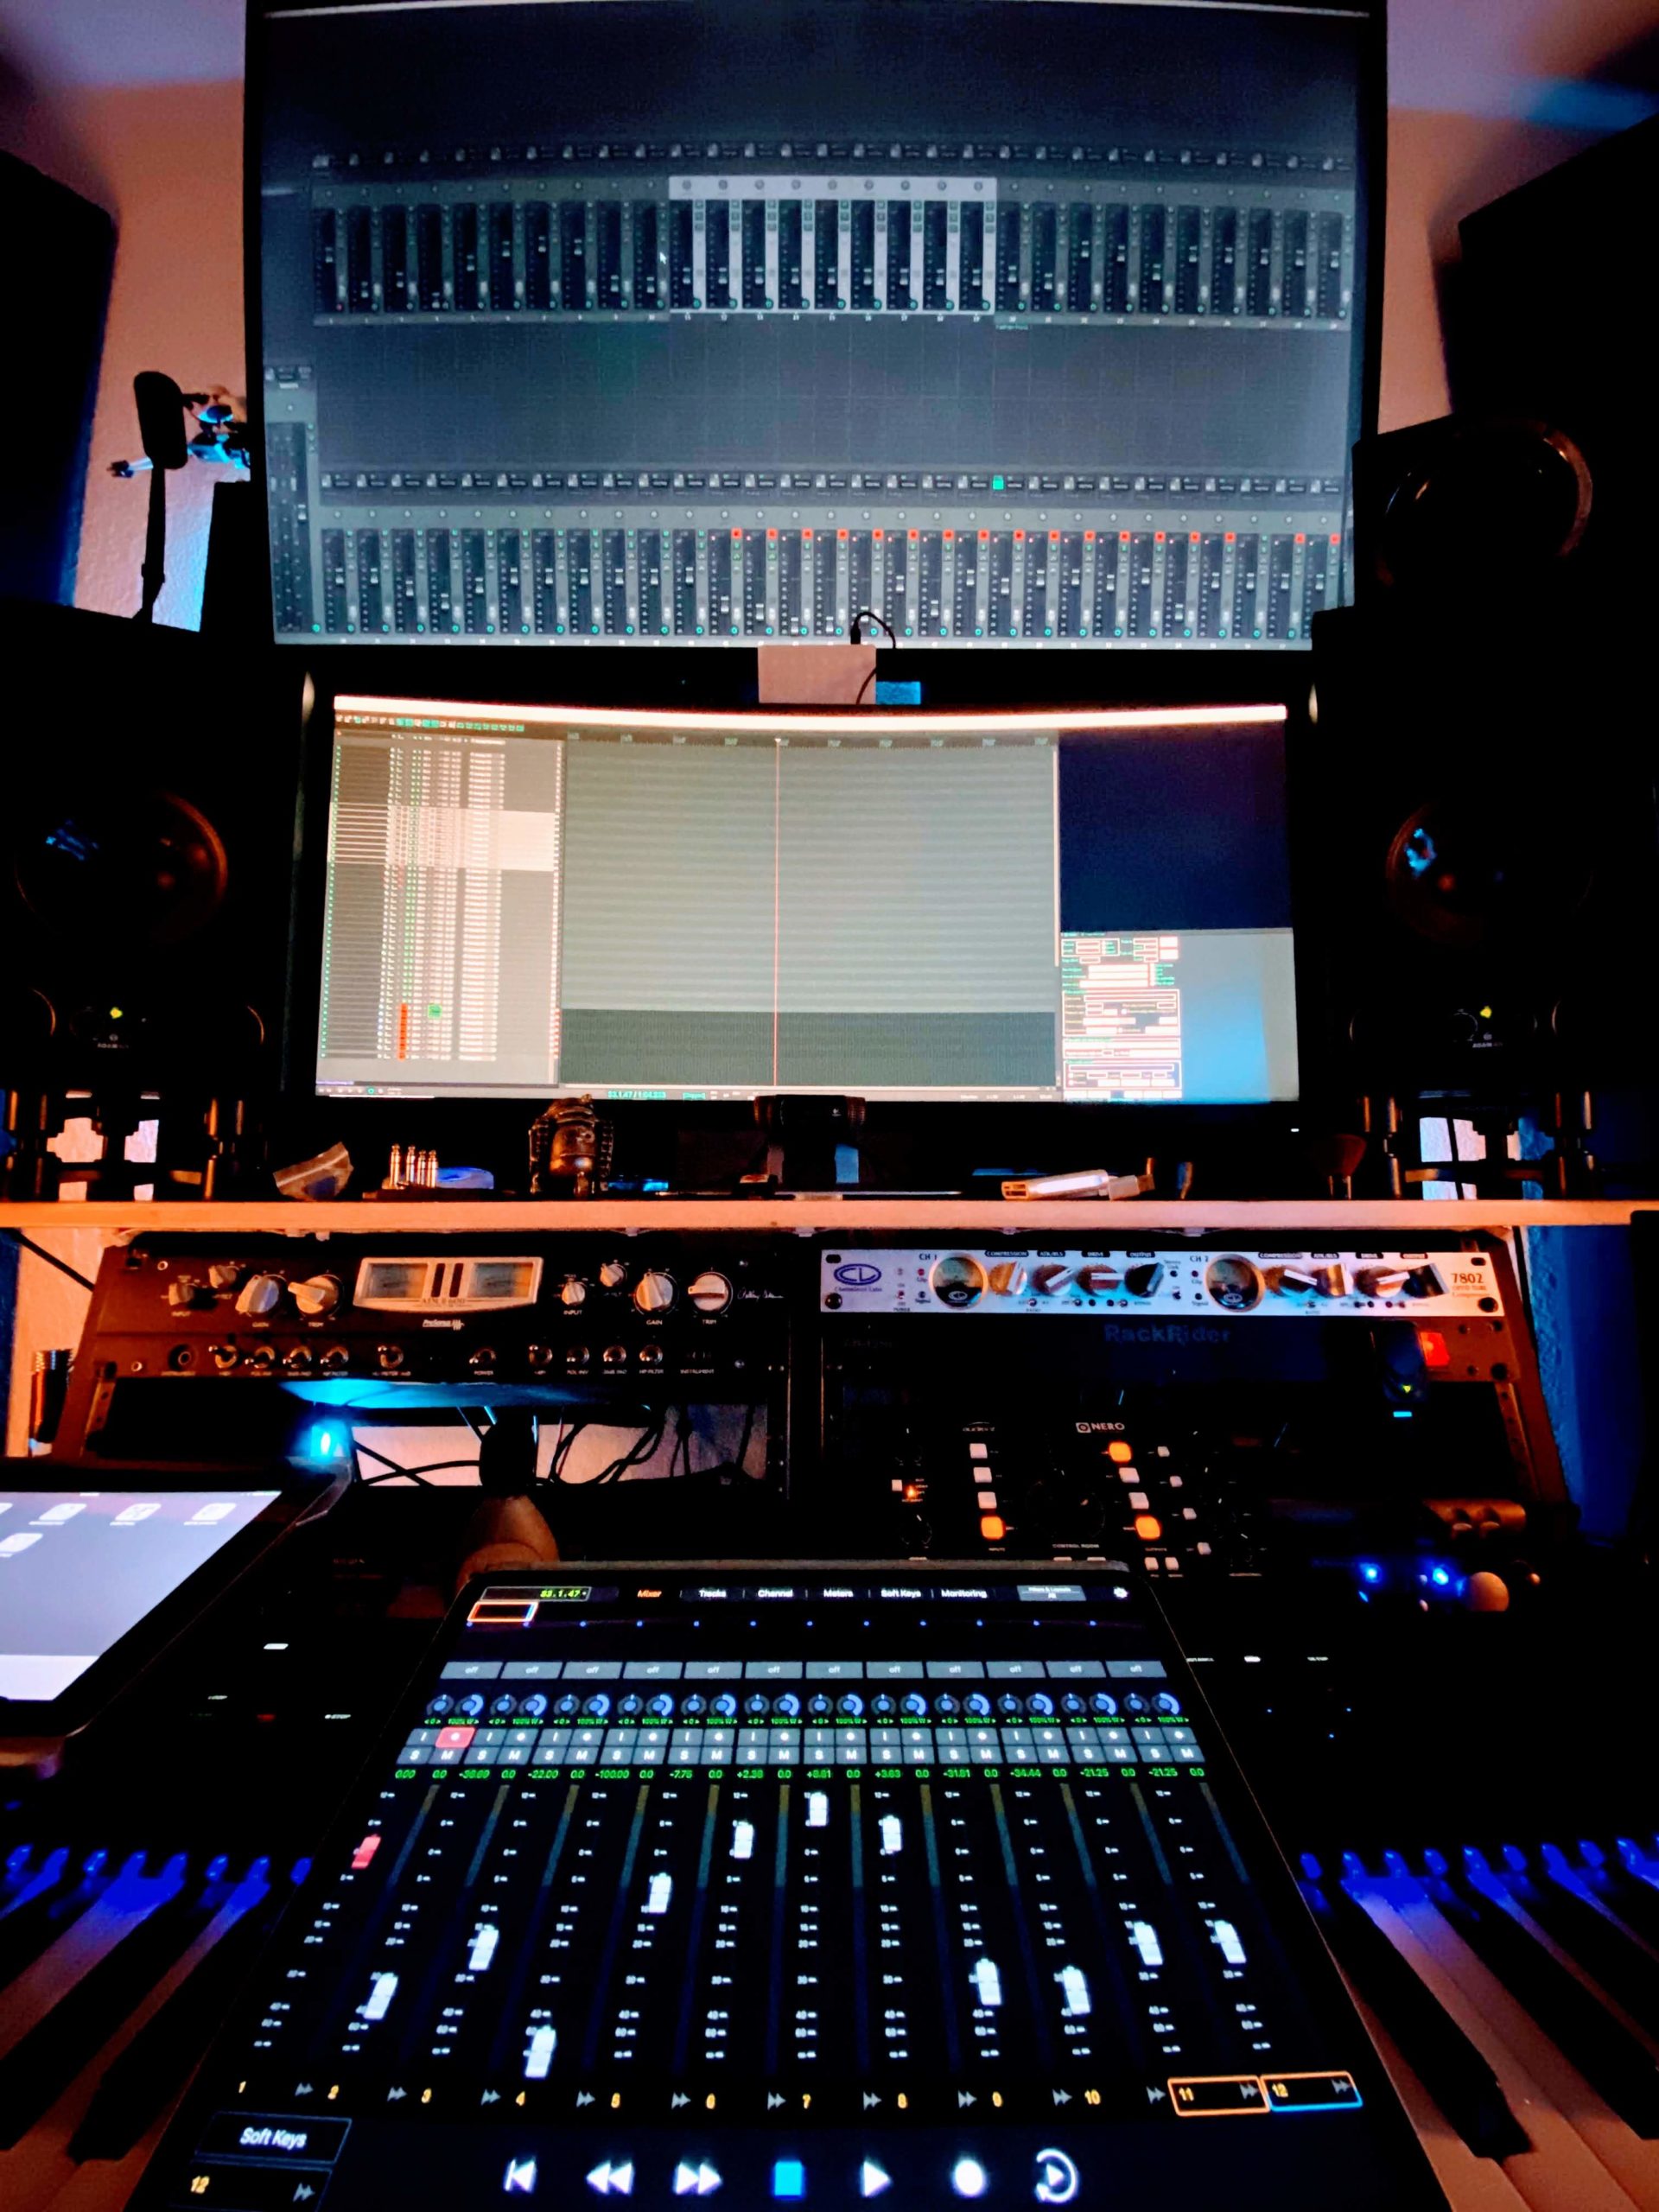
STUDIO AND GEAR
GAME AUDIO TOOLS
Wwise, Unreal Engine, Unity, Multiple Proprietary Tools, VR Toolkit.
DAWS
Reaper, Ableton Live, Cubase, ProTools, Sound Forge.
PLUG-INS
Fabfilter, Komplete 11, Izotope, Sound Toys, Kilohearts, Slate, Waves, GlitchMachines, D16, Arturia, Plugin-Alliance, Seventh Heaven, Lexicon, Valhalla, & so many more.
MICROPHONES
MKH8040 X2, MKH50/30, Schoeps MK41, Neumann KMR82i, Neumann RSM 191A, Townsend Sphere LS22, Slate ML1 X2, Slate ML2 X2, NTG3, KSM32, Pearl MS2CL, SM7b, Parabolic MikroUsi, Line Audio CM3 Pair, Aquarian H2A Hydrophone, Usi Pro, Elektrosluch Mini City, Beta 52, Barcus Berry, Ucho, Cold Gold.
SYNTHS
Make Noise Gold and Black Shared System, Moog Mother 32, MicroBrute, Behringer Model D, Access Virus C, JP-8080, MicroKorg, Gakken SX-150, Circuit bent Casio SK-1 & Speak and Spell.
MONITORS & HEADPHONES
Adam A7X, Neuman KH120, Behritone, Mackie HR824 MKII, Slate VSX, Embody Suite
RECORDERS
Sound Devices Mixpre 10 II 702, Zoom F8, Sony D100, Sony M10
SKILLS
GAME AUDIO
I live and breath game audio. The process of bringing a game to life through sound and music is a magical experience to be a part of. Seeing a team, and eventually the players, love the end results makes all the hard work extremely worth it.
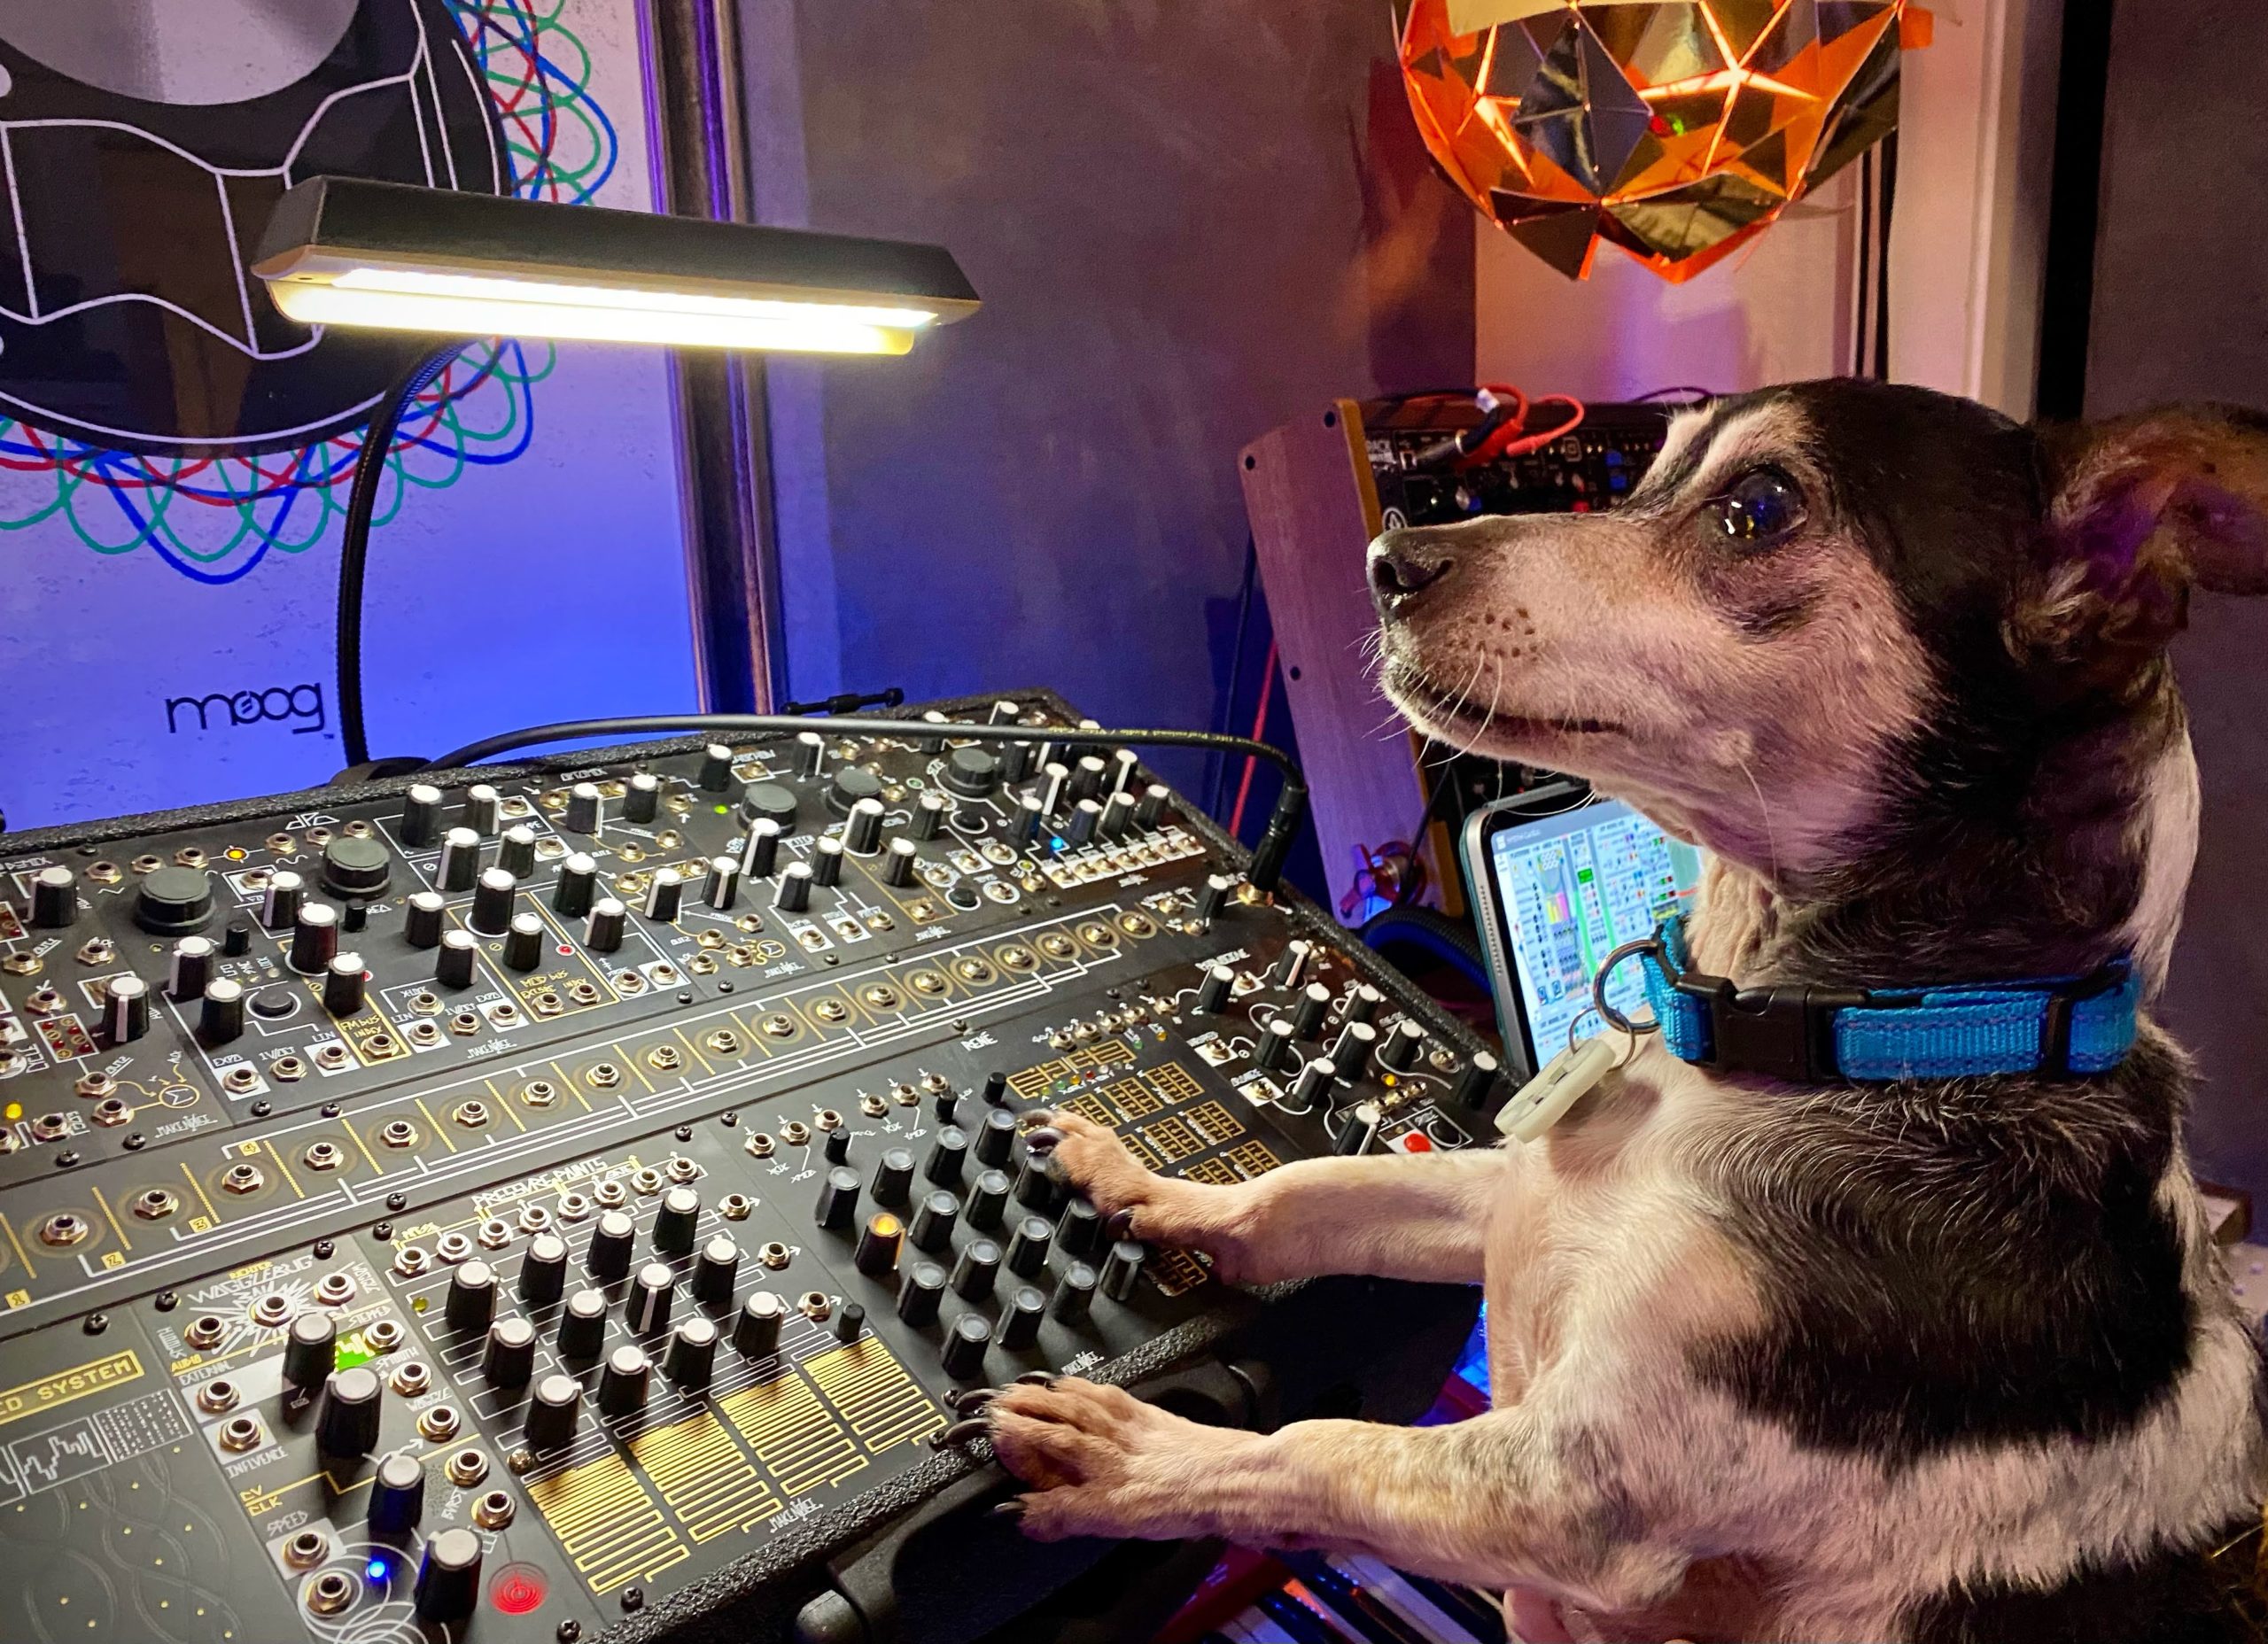
COMPOSITION
My background in classical music and studio production gives me a versatile edge when composing for games. Also, my dog DD likes to get down with some Pawdular Synthesis.
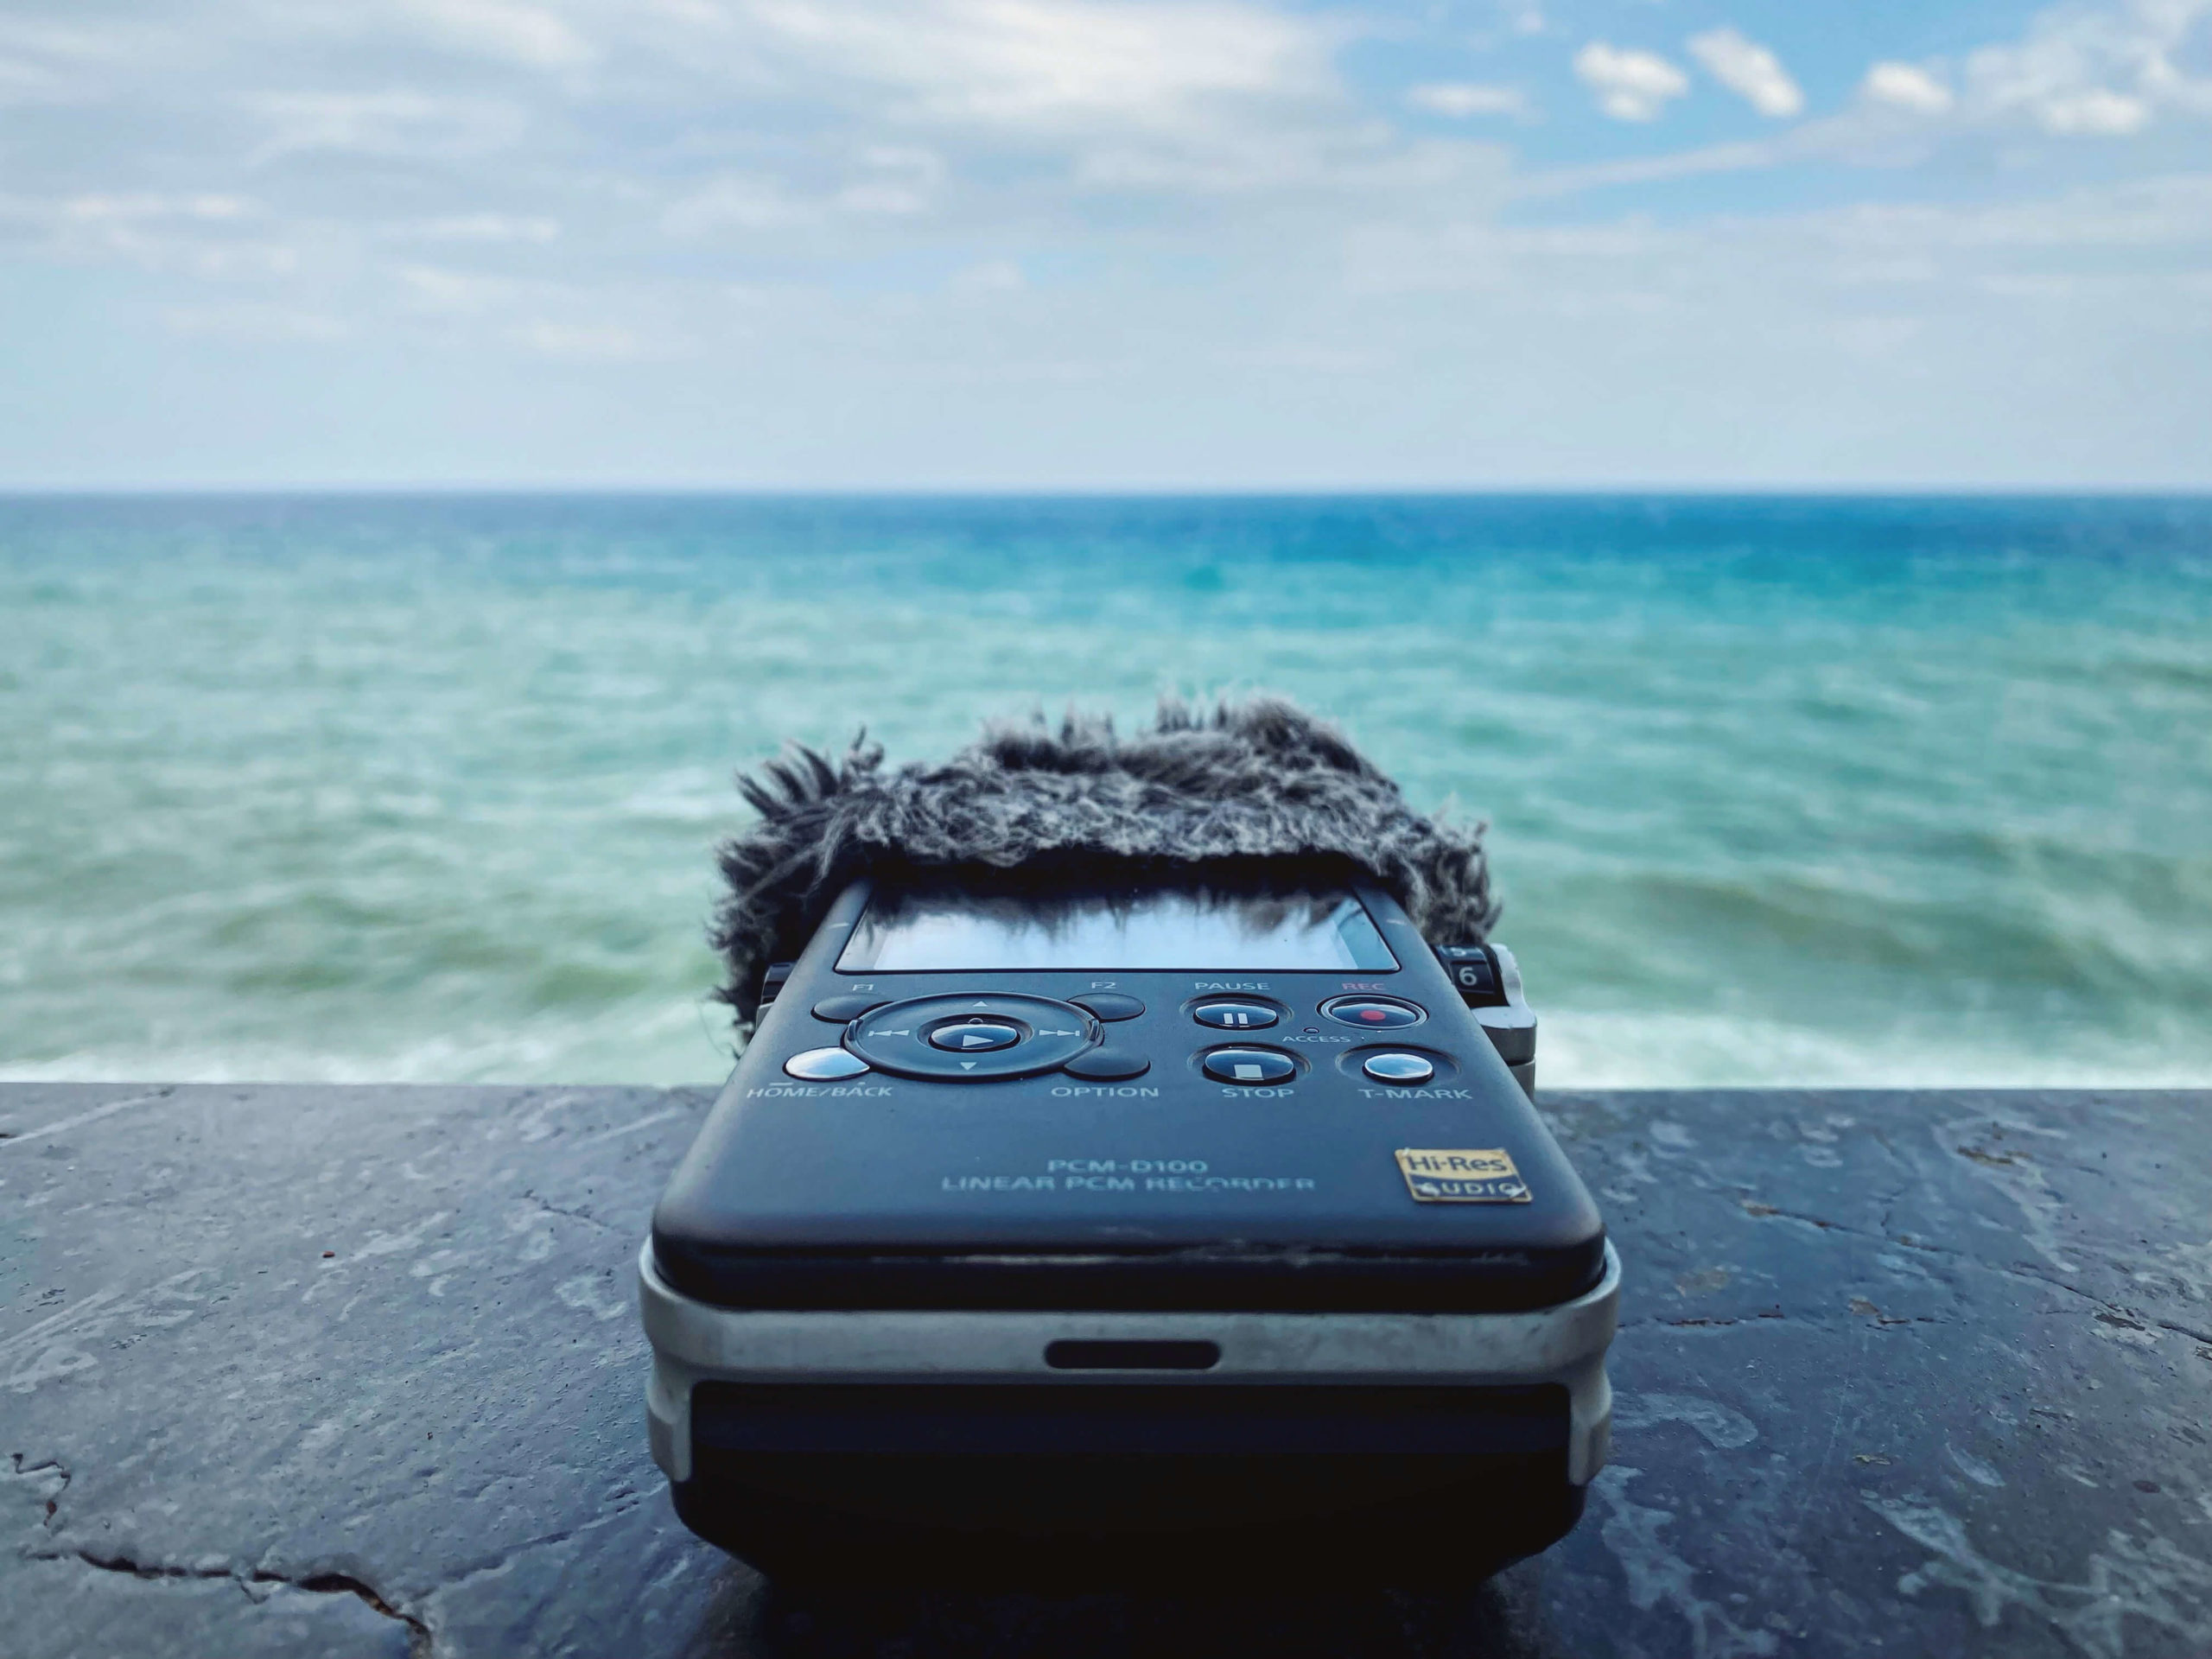
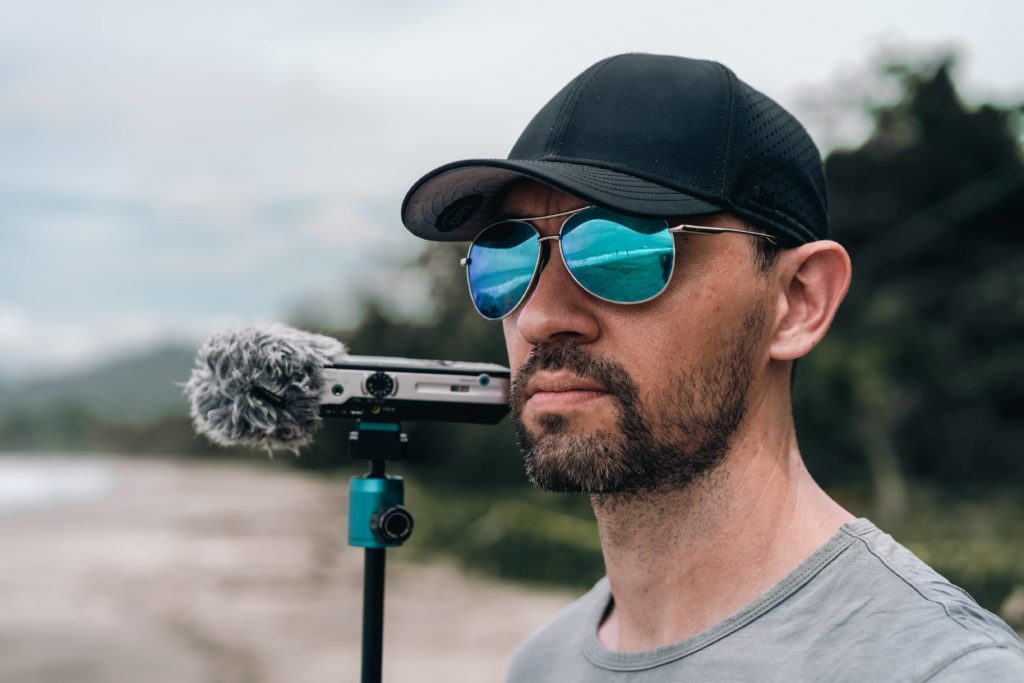
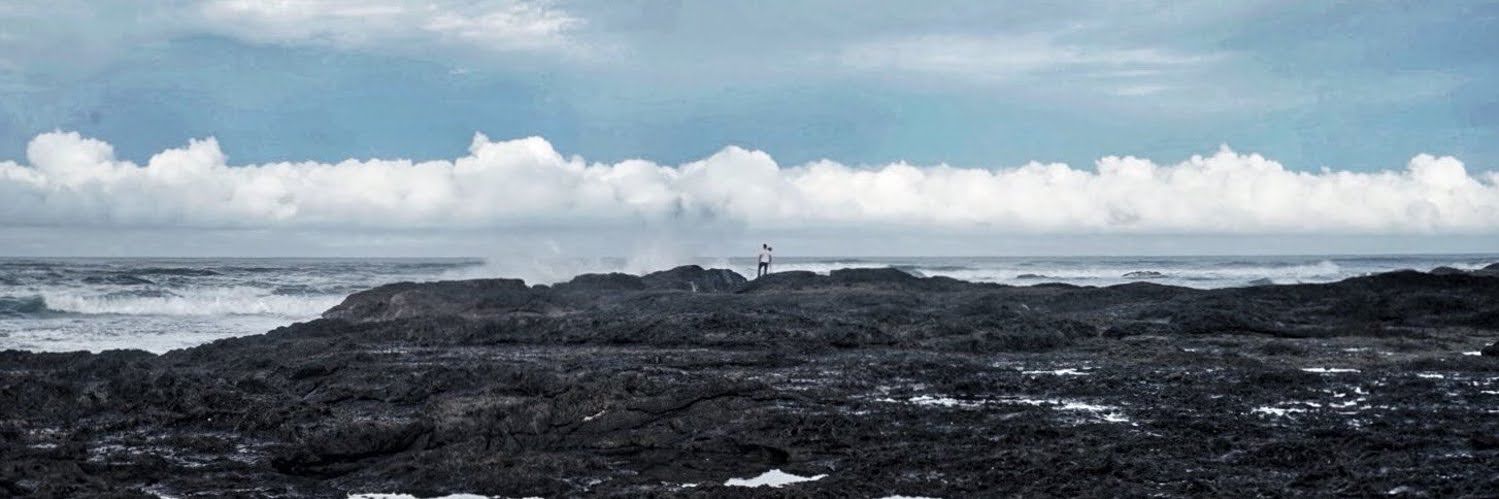
FIELD RECORDING
One of my favorite parts of sound is to record new sounds in new places while travelling. I carry this D100 with me everywhere I go and if you see me around there’s a good chance I’m recording something!
YOUTUBE VIDEOS
CONTACT ME
Contact Me
Email: aaronbrownsound@gmail.com
If you would like to discuss your project and how sound can elevate the experience, or about game audio topics and community please reach out.